Internationalize your exchanges and make your video conferences accessible with the Authôt Live plugin for ZOOM!
In a few clicks, configure your account and display subtitles in the language of your choice.
Follow this guide to use Authôt Live with Zoom
1 - Installation
Go to the Zoom app marketplace, search for the application "Authot Live for ZOOM - Beta Version" and install it.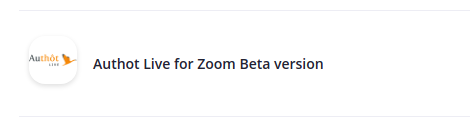 During the installation, you will be asked for an authorization. It allows you to obtain a summary of the authorizations required for the plugin to work properly.
 You will then be redirected to the "Connection" page of your Authôt Live account.
We invite you to connect in order to finalize the plugin configuration.
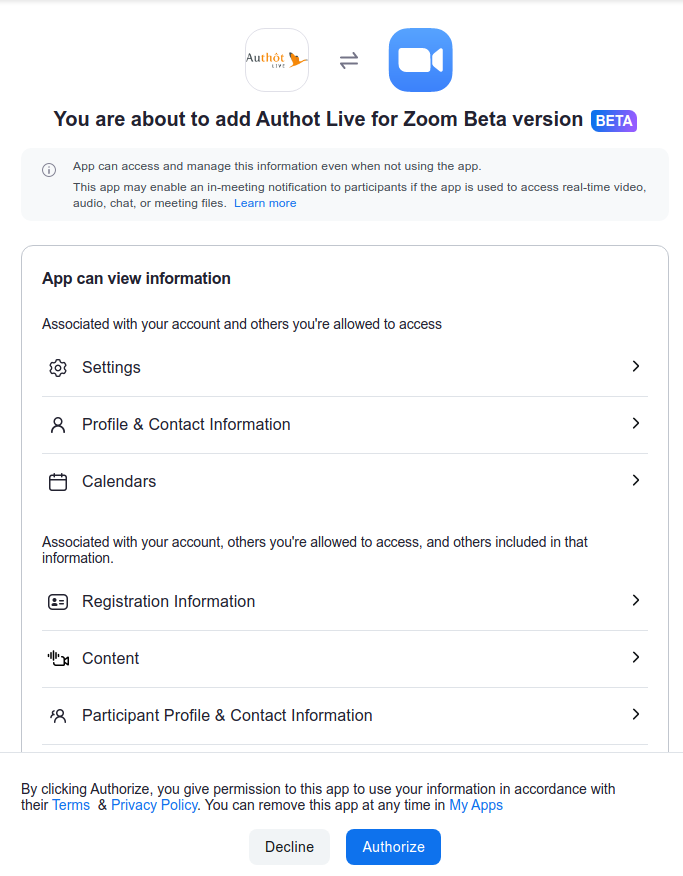
a - Description of the necessary authorizations
Events
To properly configure a Live session, the plugin must be able to track events related to the launch of a Zoom Meeting.Authorization
- meeting:read:admin : Allows you to see all the user's meetings to schedule Live Transcription.
- meeting:write:admin : Allows you to view all the user's meetings to schedule Live Transcription and display subtitles.
- user:read:admin : Allows the recovery of the user's information for the Authot Live application.
b - System requirements in Zoom
Warning! This step is very important for the ZOOM plugin to work.
Go to Settings (available here).
Click on 'In Meeting (Advanced)'.
Activate Manual Captions
Check the two boxes below:
- Allow host to type or assign a participant to type
- Allow use of caption API Token to integrate with 3rd-party Closed Captioning services
Once this configuration is done, you can proceed to usage.
2 - Usage
To use the Authot Live for Zoom - Beta Version plugin nothing could be easier:Once the plugin is installed, launch a Zoom meeting: your subtitles will appear in your Zoom meeting without any other manipulation.
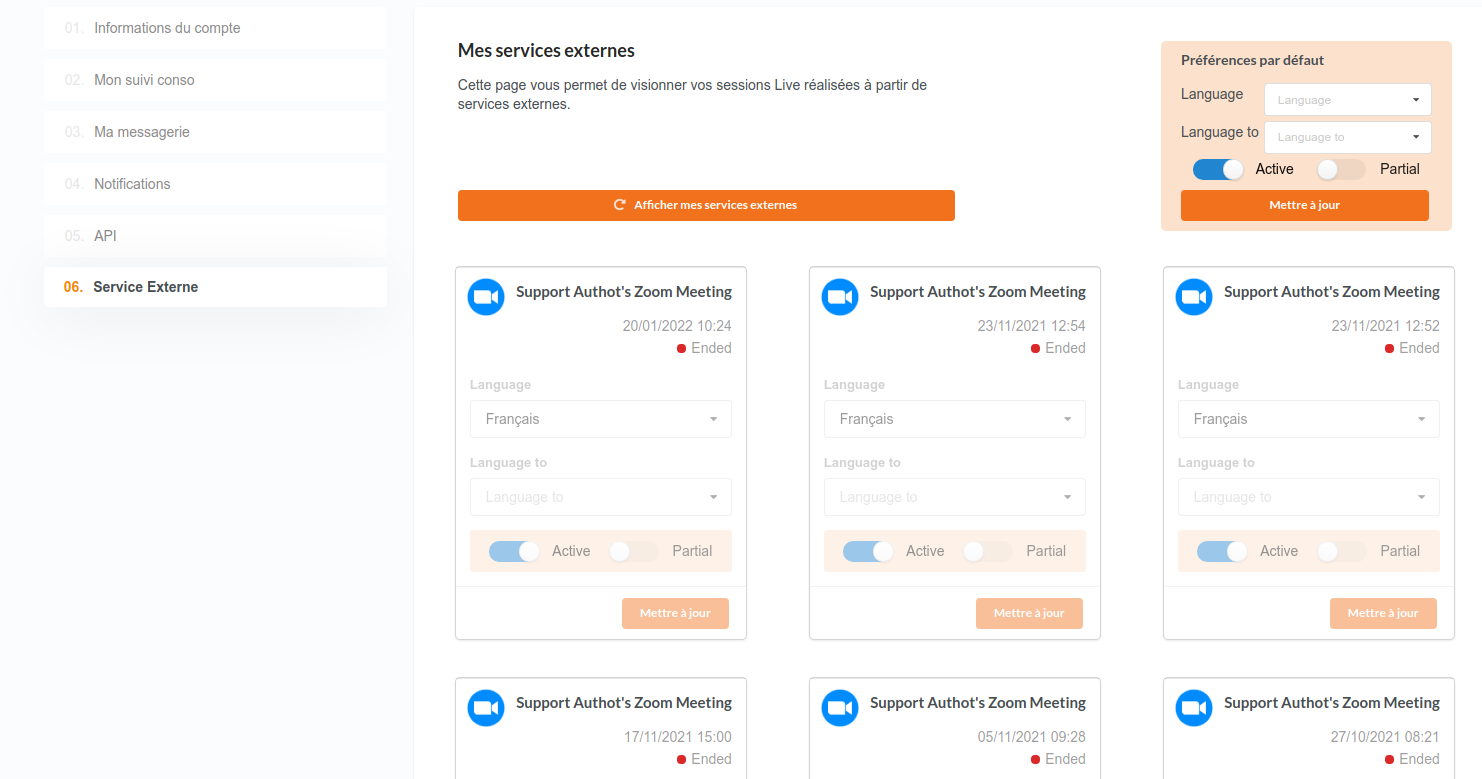
Setting up
Do you want to change the transcription or translation language of your next ZOOM Meeting?Log in to Authôt Live and access your profile. In the "External Services" tab, you will be able to view all the Live sessions made from external services.
Find your Zoom Meeting and modify your preferences by indicating the source and target languages, in the case of a Live Translation.